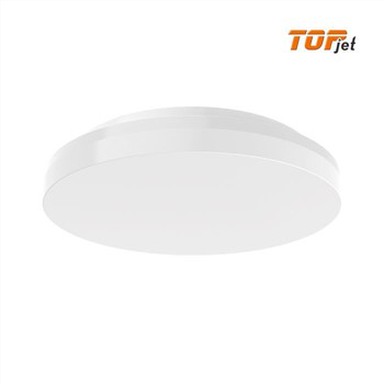
Dimmable LED Ceiling Light
This dimmable LED ceiling light fixture is very easy to install and can be installed in 10 seconds. It is illuminated from the side, the light is very soft, and it will not cause discomfort to the eyes.
- Fast Delievery
- Quality Assurance
- 24/7 Customer Service
Product Introduction
Product Specification

| Model No. | Size(mm) | Power(W) | Flux(LM) | Voltage(V) | PF | CRI | Beam Angle |
| LR-220-18W | φ220*50 | 18 | 1800 | 165-265 | 0.9 | 80 | 120° |
| LR-280-24W | φ280*50 | 24 | 2400 | 165-265 | 0.9 | 80 | 120° |
| LR-330-30W | φ330*50 | 30 | 3000 | 165-265 | 0.9 | 80 | 120° |
Functions
(1) Easy to install, as long as you use the provided accessory kit, you can quickly install this dimmable LED ceiling light in 10 seconds.
(2) IP54 waterproof and dustproof. Sealed design to prevent water splashing. Non-worm attraction.
(3) Super bright energy saving and environmental protection, 1800LM ceiling light can provide you with a bright room at night, with a PF of 0.9, energy saving and environmental protection, and high lumen utilization, which means you don't need to worry about electricity bills because it is designed to save energy.
(4) Good heat dissipation, prolonged service life, and make your room lighting more stable.
(5) Flicker-free and buzz-free: This ceiling lamp is composed of flicker-free LED beads and a milky white PC shell. Eye protection design, suitable for reading and taking pictures. Upgraded circuit design, long-term use without buzzing. CRI>80 (color rendering index).
(6) CCT change and Triac dimmable.
Application:
This dimmable LED ceiling light can be applied to offices, shops, workshops, worktables, kitchens, sitting rooms, corridors, laundry rooms, wardrobes, utility rooms, storerooms, basements, meeting rooms, corridors, stairwells, warehouses, equipment, car shops and other occasions that replace fluorescent lamps.

Installation:
Step1: Open the Lamp
Step 2: Take off the safety rope and the input cable
Step 3: Drill expansion screw
Step 4: Connect Ac power wire, fix the driver base plate by screw
Step 5: Install the lighting cover